After my post on how to Use Data Services SDK libraries to construct an AWTableMetadata in a Java application, in this post I will explain how to access a JAVA application as a source of information by using the WebService DataStore in SAP Data Services.
To do this we need:
- Tomcat Server (where our service will be allocated Tomcat 6 BI4)
- Axis2 Library (1.6.2)
- Standard Binary distribution/zip
- WAR distribution/zip
- Eclipse (To construct our web Service)
- Data Services Sp3
1. Building the web Service
Step 1: Unzip the the Axis2 WAR distribution inside of the folder…SAP BusinessObjectsTomcat6webapps replacing the actual Axis2 folder by default.
Step 2: Unzip the binary distribution of the Axis2 into a folder called Axis2 (C:Axis2axis2-1.6.2).
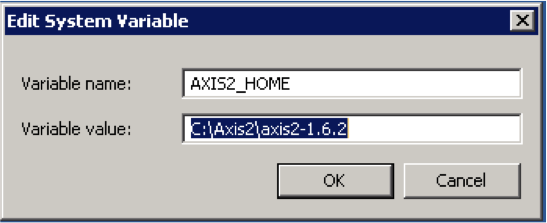
Step 3: Set system AXIS2_HOME variable. Go to Control panel -> System -> Advance System settings-> push the Environment Variables button and create the new one with this specification:
Step 4: Set up CATALINA_HOME variable. This is where the Apache Tomcat folder will be located. Go to Control panel -> System -> Advance System settings-> push the Environment Variables button and create the new one with this specification:
Step 5: Restart the Tomcat 6 Server. (turning off our BI4 installment during this process is recommended)
Step 6: Inside Eclipse right click to export our java application into a JAR File.
Step 7: Set the Export destination to the follow path:
…SAPBusinessObjectsTomcat6webappsaxis2WEBINFservicesOURPROJECT.aar
Where “OURPROJECT.aar” will be the name of our web service with .aar extension.
Step 8: Restart the Tomcat. Once Tomcat has started we have to access to this path http://localhost:8080/axis2/services and we should see this window:
Step 9: Click on our service in this case Clariba_SMT. We will redirect to the following URL:
http://localhost:8080/axis2/services/Clariba_SMT?wsdl
Copy this URL into a notepad for setting the Web Service Data Store.
2. Setting the Web Services Data Store in Data Services
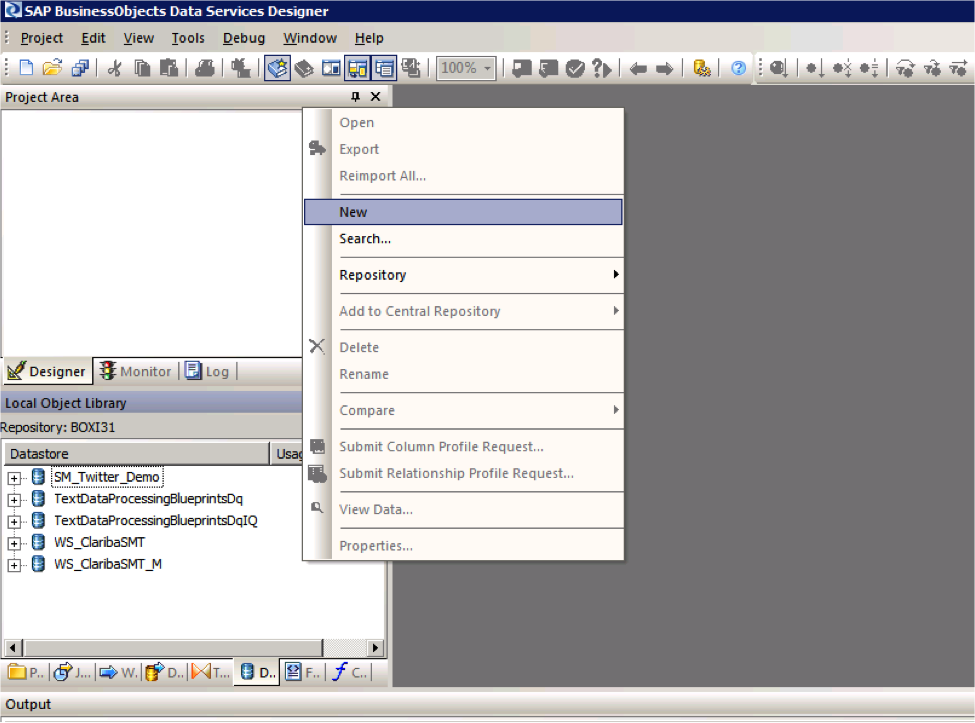
Step 1: Open the Data Store perspective and right click with the mouse and select New.
Step 2: Set the new name of our extractor as “WS_ClaribaSMT” and then put the URL where our web service is located. Data integrator needs the WSDL descriptor so we put http://localhost:8080/axis2/services/Clariba_SMT?wsdl
Step 3: Import the functions from the webservice that we are going to use. We select in this example“getTableTweeetsEN” for English and “getTableTweeetsES” for Spanish language.
Conclusion: Now we are ready to use our Web service as a Function Call inside a transformation in a Data Services Data Flow. Keep in mind that our Java Application has to return a type of value that Data Services can interpret easily for example a Table (See my past blog for more information). Subsequently we have to do a special set of transformations to interpret the information of the Web Services, which I will cover on my next post.
If you have any related tips or suggestions, please leave a comment below.


